Master Candied Ginger: Unlock Custom Shapes and Perfect Spiciness
Imagine biting into a piece of ginger that’s just the right balance of sweet warmth and a gentle, fiery kick, perfectly shaped to your liking. Sounds tempting, doesn't it? While store-bought candied ginger is readily available, learning
how to make crystallized ginger candied ginger at home opens up a world of customization, freshness, and flavor that simply can't be matched. This guide will walk you through transforming humble ginger root into a gourmet treat, allowing you to tailor its intensity and form to your exact preferences.
The Sweet & Spicy World: Candied vs. Crystallized Ginger Unveiled
One of the most common questions surrounding this delightful confection is the distinction between "candied" and "crystallized" ginger. While often used interchangeably, these terms refer to the final presentation of the same delicious product.
Demystifying the Terminology
The journey to both candied and crystallized ginger begins identically: fresh ginger is simmered in a rich sugar syrup.
*
Candied Ginger: This is the ginger after it has been cooked in syrup and then either stored *in* the syrup itself or removed and allowed to dry until it's still slightly sticky to the touch. It retains a glossy, moist appearance and a wonderfully chewy texture.
*
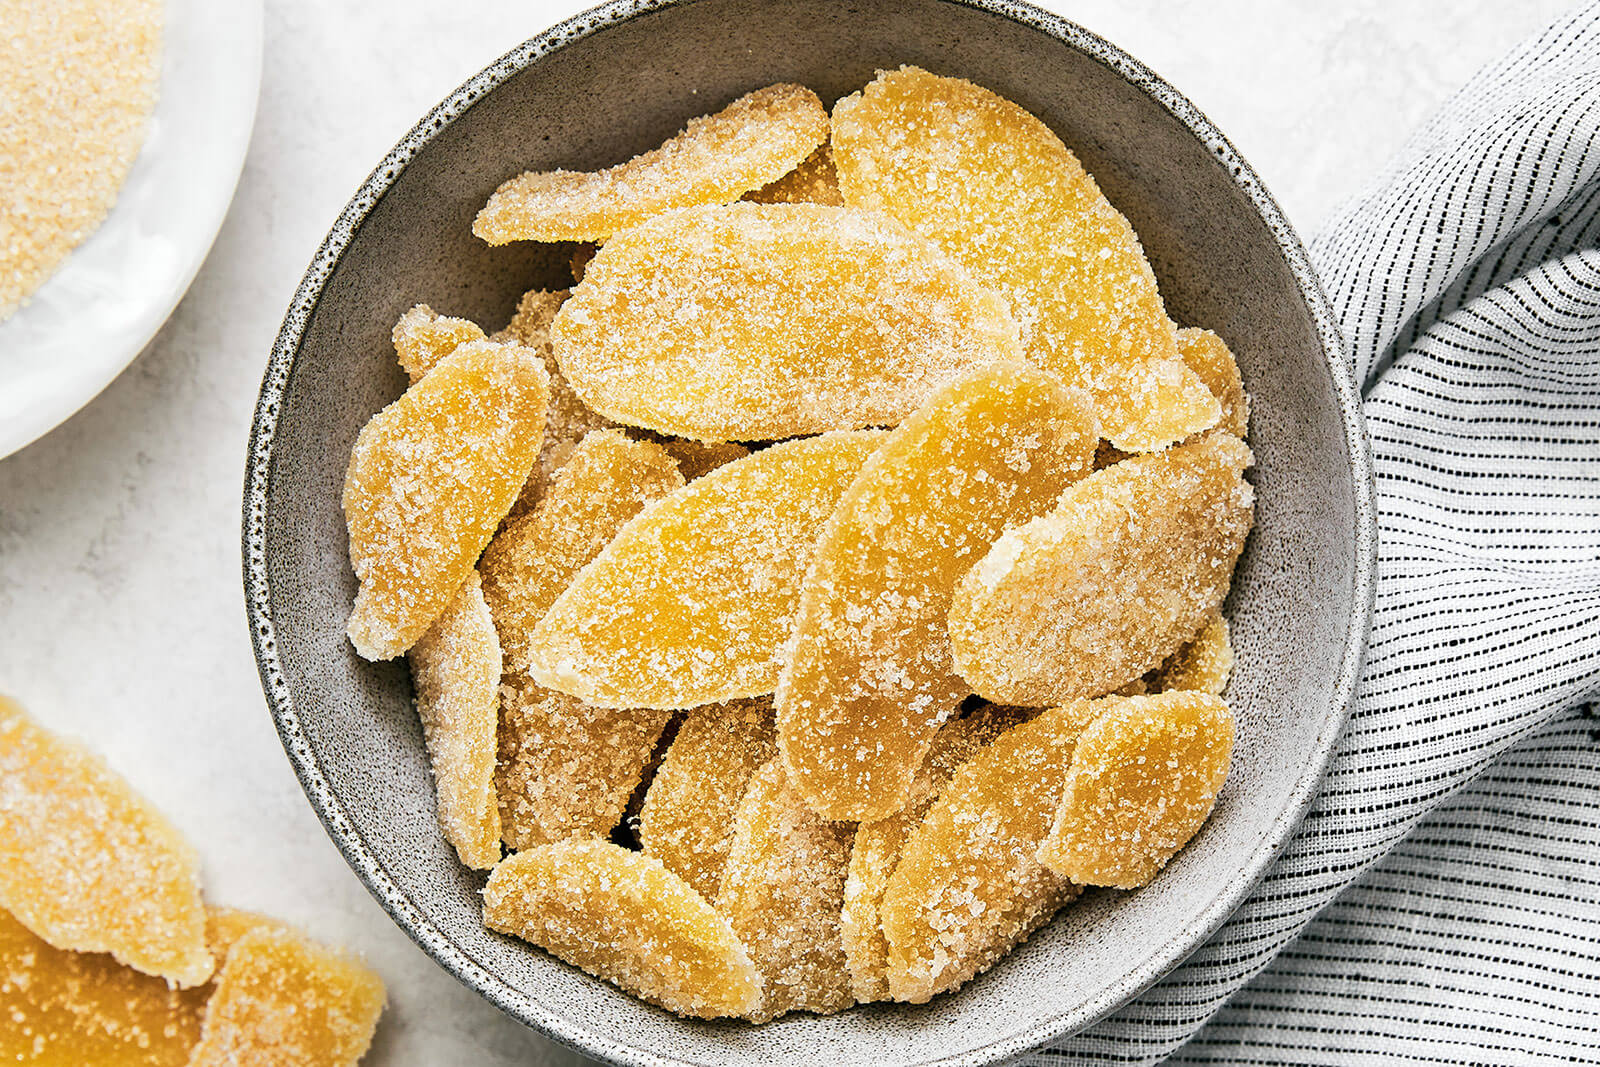
Crystallized Ginger: To achieve this, you take the "dried out" candied ginger and toss it generously in granulated sugar. The sugar coating provides an additional layer of sweetness, a delightful crunch, and helps to preserve the ginger further, giving it its characteristic sparkly, frosted look.
Understanding this subtle but important difference allows you to decide which finish best suits your palate or recipe. For a deeper dive, explore our guide:
Candied vs Crystallized Ginger: Your Guide to Making Both at Home.
Why Homemade Reigns Supreme
Beyond the sheer satisfaction of creating something delicious from scratch, making your own candied ginger offers unparalleled advantages:
*
Control Over Spiciness: This is perhaps the biggest draw. You dictate how fiery or mellow your ginger will be.
*
Shape Customization: Slices, cubes, strips – the choice is yours, allowing for diverse uses and textures.
*
Fresher Flavor: Homemade versions boast a vibrant, pure ginger flavor that often surpasses mass-produced options.
*
No Unnecessary Additives: You know exactly what goes into your treat – just ginger, sugar, and water.
*
Cost-Effective: Fresh ginger and sugar are inexpensive, making this a budget-friendly indulgence.
*
Bonus Byproducts: The cooking process yields aromatic ginger tea and flavorful ginger simple syrup, two delicious extras!
Selecting Your Star Ingredient: The Right Ginger Root
The foundation of exceptional candied ginger is, of course, the ginger itself. Choosing the right root can significantly impact the final taste and texture.
Young vs. Old Ginger: A Crucial Choice
Not all ginger roots are created equal, and your preference for spiciness and texture should guide your selection:
*
Young Ginger: This is often preferred for candied ginger. It has thinner, papery skin that's easy to peel, is more tender, less fibrous, and generally juicier. Crucially, young ginger has a milder, less pungent spiciness. Look for roots that are plumper and have a lighter, almost translucent skin.
*
Old Ginger: Characterized by thicker, tougher skin and a more fibrous interior, old ginger is significantly spicier and more intense in flavor. While it works perfectly well, expect a more robust "zing" and a chewier texture. Peeling can be more challenging due to its fibrous nature.
For the ideal balance of tenderness and moderate spice, opt for fresh, younger ginger whenever possible.
Preparing Your Ginger for Perfection
Once you've selected your ginger, proper preparation is key:
1.
Wash Thoroughly: Rinse the ginger root under cold running water, scrubbing away any dirt or sand. Pat it dry with a paper towel.
2.
Peeling Made Easy: Ginger roots can be knobby with many nooks and crannies, making a regular peeler frustrating. The best tool for the job is a sturdy metal spoon. Use the back of the spoon, scraping the skin away from you with the tip. This method efficiently removes the skin without wasting much of the precious ginger flesh.
3.
The Art of Cutting: This is where your shape customization begins!
*
Slices: For a more delicate texture, cut the ginger into approximately 1/4-inch slices. A sharp chef's knife works well, or for ultimate uniformity and ease, consider using a mandoline slicer. Thinner slices will dry faster and have a melt-in-your-mouth quality.
*
Cubes: If you enjoy a meatier, chewier texture perfect for snacking or baking, cut the ginger into small cubes (around 1/4 to 1/2 inch).
*
Strips (Julienne): For a more elegant presentation, especially in desserts or as a garnish, cut the ginger into thin matchstick-like strips.
The shape you choose will influence not only the final appearance but also the texture and how long it takes for the ginger to dry and crystallize.
Crafting Your Candied Ginger: Step-by-Step Customization
The process itself is straightforward, involving two main cooking stages and a drying period. Each stage offers an opportunity to fine-tune your desired outcome.
Controlling the Spiciness: The Blanching Secret
This is the most critical step for managing the ginger's intensity. Raw ginger is incredibly potent; blanching helps to temper its fiery heat and also softens its tough fibers, leading to a wonderfully tender and chewy candied product.
1.
First Blanch (and Ginger Tea!): Place your prepared ginger pieces in a saucepan and cover them with cold water. Bring to a boil, then reduce heat and simmer for about 10-15 minutes.
*
For Milder Ginger: Drain the water, discard it (or save it as a base for a soothing ginger tea!), and repeat the blanching process once or even twice more with fresh water. Each blanching cycle removes more of the ginger's volatile oils, resulting in a milder flavor.
*
For Spicier Ginger: If you prefer a robust kick, one blanching might be sufficient, or you can even skip it entirely if you crave extreme heat (though this is not recommended for most palates as it can be overwhelming).
2.
The Byproduct: The water from the first blanching (and subsequent ones if you repeat) is a fantastic base for ginger tea. Simply strain out the ginger, add a squeeze of lemon and a touch of honey or your preferred sweetener. It's a warm, comforting elixir, especially on a cold day!
The Syrup Bath: Infusing Sweetness and Tenderness
After blanching, your ginger is ready for its sweet transformation.
1.
Prepare the Syrup: For every cup of blanched ginger, you'll typically use about 1 cup of granulated sugar and 1 cup of water. Adjust ratios as needed, but this 1:1:1 ratio is a good starting point. Combine the sugar and water in a saucepan over medium heat, stirring until the sugar dissolves completely.
2.
Simmer the Ginger: Add the blanched ginger to the sugar syrup. Bring the mixture to a gentle boil, then reduce the heat to a simmer. Cook for about 20-30 minutes, or until the ginger pieces become translucent and the syrup thickens significantly, reducing by about half. The ginger should look plump and glossy.
3.
The Second Byproduct: The leftover syrup after cooking the ginger is a flavorful ginger simple syrup. This golden liquid is excellent for sweetening teas, cocktails, or drizzling over pancakes and fruit. For more ideas on using these delicious byproducts, check out:
Homemade Crystallized Ginger: Easy Recipe & Delicious Byproducts.
The Drying Phase: From Sticky to Crystallized
Once the ginger is tender and translucent, it's time to transform it into either candied or crystallized ginger.
1.
Drain and Cool: Carefully remove the ginger pieces from the hot syrup using a slotted spoon or tongs. Place them on a wire rack set over a baking sheet (to catch any drips). Allow them to cool and dry for several hours, or even overnight, at room temperature.
2.
For Candied Ginger: At this stage, the ginger will be sticky and shiny. You can store these directly in an airtight container. For a softer texture, you can even store some submerged in the leftover ginger syrup.
3.
For Crystallized Ginger: Once the sticky candied ginger pieces have dried sufficiently (they should still be pliable but not wet), place about a quarter cup of granulated sugar in a shallow bowl. Toss the ginger pieces, a few at a time, in the sugar until they are fully coated. Shake off any excess sugar. Spread the sugared ginger back onto the wire rack or parchment paper to dry completely for another few hours to ensure the coating sets.
Beyond the Snack: Creative Uses for Your Homemade Ginger
Your homemade candied or crystallized ginger is incredibly versatile. While irresistible as a standalone snack (especially the sugar-coated crystallized variety!), it adds a unique sweet-spicy dimension to various dishes.
*
Baking: Chop it finely and add to cookies, muffins, scones, fruit tarts, gingerbread, or fruitcakes.
*
Desserts: Garnish cakes, ice cream, or custards. It pairs beautifully with chocolate or citrus flavors.
*
Savory Dishes: A surprising but delightful addition to glazes for ham or pork, stir-fries, or even some curries.
*
Drinks: Drop a piece into hot tea, mulled wine, or use the ginger syrup in cocktails and mocktails.
Delicious Byproducts: Don't Waste a Drop!
As mentioned, the process of making candied ginger yields two fantastic extras:
*
Ginger Tea: The blanched water, especially from the first boil, makes a comforting, mild ginger tea. Add lemon and honey for extra flavor and health benefits.
*
Ginger Simple Syrup: The leftover syrup from the sugar bath is concentrated ginger-infused sweetness. Use it in:
* Cocktails (e.g., Moscow mules, ginger martinis)
* Sweetening iced tea or lemonade
* Drizzling over yogurt, oatmeal, or fresh fruit
* As a glaze for roasted vegetables or meats
Conclusion
Mastering
how to make crystallized ginger candied ginger at home is a rewarding culinary adventure. From selecting the perfect ginger root to artfully customizing its shape and spiciness through blanching and cutting, every step offers an opportunity for personal expression. Not only will you create a truly exceptional treat that’s fresher and more vibrant than anything store-bought, but you'll also gain delicious byproducts in the process. So, embrace the sweet and spicy challenge – your taste buds will thank you!